
Some of the most time-consuming and annoying appliance issues to fix in your home have to do with leaks. To your detriment, leaks can permeate even the sturdiest of appliances and machinery in your home. One small leak can be a minor symptom or the beginning of a much larger problem.
Thankfully, it’s easy to fix to a leaky shower. Making some minor adjustments can result in a solid repair. In some cases, you may not have found a proper fix for the leak in question. At this point, you will have to resort to calling in a professional. A plumber will ensure that your leaky shower can normally work again without any issue.
Here are six tips on how to fix a leaking shower:
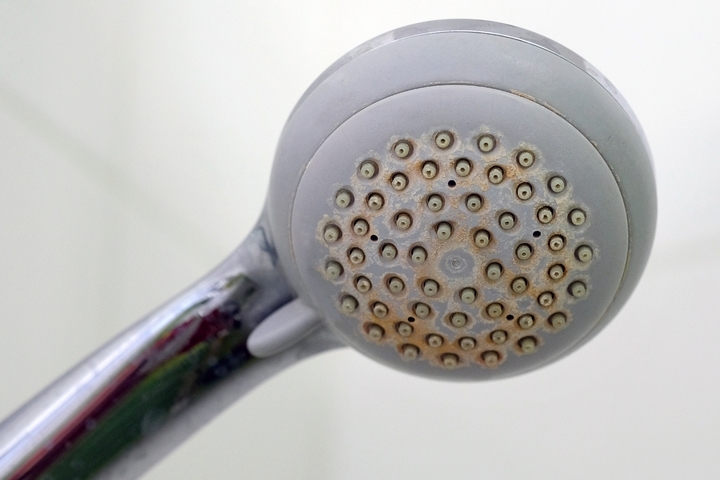
Tip #1: Find the signs of a leaky shower.
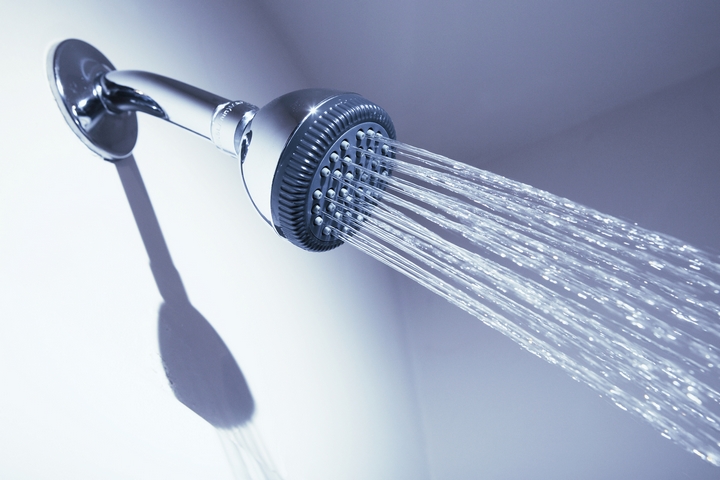
A shower leak can be rather difficult to trace as it pertains to locating the origin point of the leakage. That is because shower faucets and heads regularly drip, depending on how often they are used. To determine what issue you have, look for exposed parts on the shower faucet.
Normally, when these are turned off, there will be multiple avenues of water dripping. The leakage will also come out of the faucet consistently. Note this, as it is important to remember where the leaks are coming from. You do not want your water bill to go any higher as a result!
Tip #2: Prepare before you fix the shower.
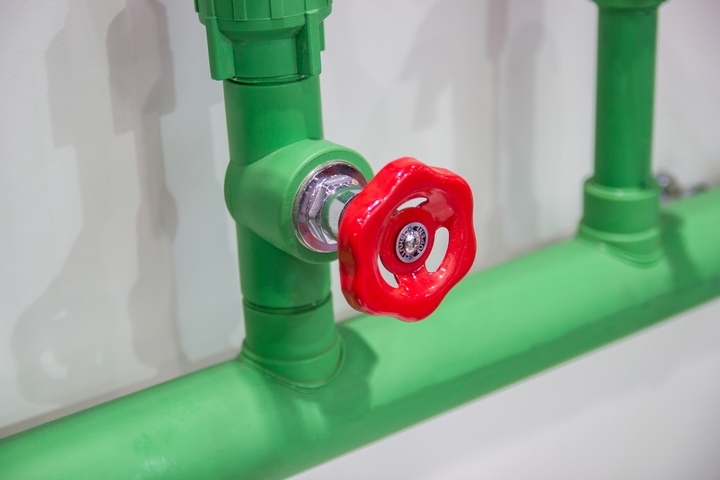
Before you try to fix the shower leak, you will have to prepare some initial. Since you do not want the shower to spray disproportionately, turn your home’s water valve off. You can begin the repair job without much kickback from the faucet. In addition, if you have multiple showers with leaks, determine where their respective leaks are coming from.
Tip #3: Gather repair equipment and supplies.

As with any repair job, several materials will be used for the work. For leaky shower systems, a few tools will need to be used. For example, you will have to get a screwdriver, wrench, and pliers. You may also need a faucet repair kit targeted for the shower itself.
Depending on the leak’s extent, you may not need to use all the materials listed here. All that matters is that you have the core materials to conduct the job itself. When using your tools, it is also vital to remember to secure each step of the repair process. The last thing anyone wants is to have all of their hard work undone!
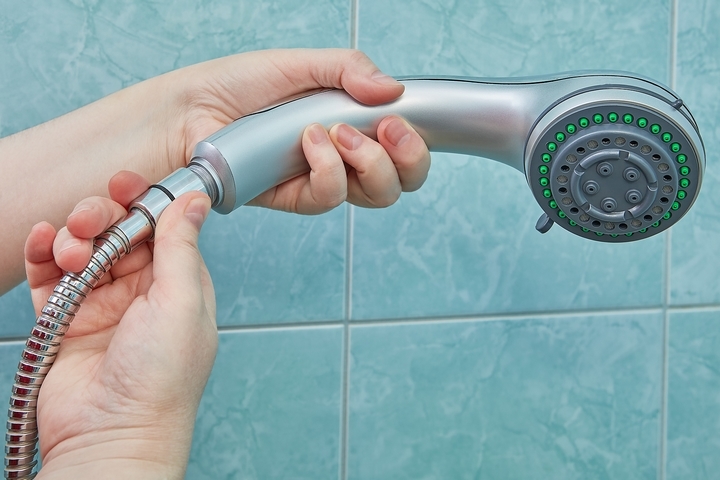
Tip #4: Remove the shower parts.

One of the first parts of repairing your shower involves some disassembly. First, remove the shower faceplate and the cap if present on your specific shower. You can either use your screwdriver to manually remove it with a snap. Or, if it is much more complicated, unscrew it using your screwdriver.
Some shower systems may have two handles. In this scenario, you will have to use alternative methods before moving on to the next steps. However, you will only have to contend with one handle for the most part. You are that much closer to closing the gap that leaks.
Tip #5: Replace the shower cartridge.
Your main target for fixing the internal components is to replace the shower’s cartridge. Once you have it in your view, use your wrench to gently remove it once it is loose. You may have to use your pliers to grab it and remove it. You may have to head to your nearest department store for the new cartridge to get one.
Cartridges are one of the mainstay components for leaks in your respective shower. After it has been replaced, you will have to focus on the ancillary parts within the faucet. Thankfully, most of the hard work has been completed; it is just a matter of reassembling and testing now.
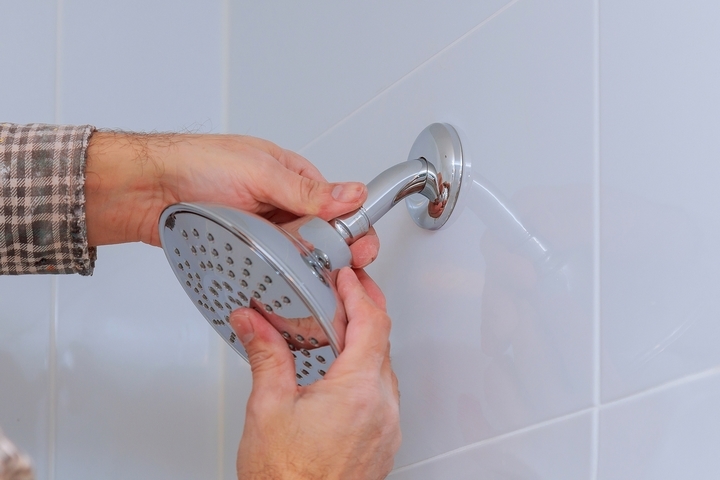
Tip #6: Test the fixed shower.
After you have replaced all the necessary parts and have covered the gaps, you are in a good position. Follow the same steps in reverse to properly reassemble the shower system. Then, switch back on your water valve, and turn the shower on. The leaks will have been put to rest if all has gone well.


